Published on Oct. 25, 2018
Keep your poults toasty warm as winter draws near
For anyone raising turkeys, the best sight is a barn of newly placed poults, actively exploring their environment, eating and drinking, and getting a good start to their development. Especially as temperatures outside begin to drop, poult temperature at placement is crucial to ensure that they are comfortable enough to start eating and drinking right away. So what are the most important reminders when it comes to brooding temperatures?
Internal temperature
At delivery, and then 12 hours post-placement, ensure the poults’ internal temperature range does not fall below 103⁰F (39.4⁰C) and does not exceed 104⁰F (40⁰C). To do this, take a random sample of 10-12 poults and measure internal temperature using a poult thermometer.
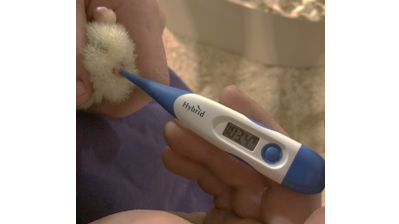
- Expose the cloaca, then gently introduce the thermometer
- Thermometer depth should not exceed 1/3”
- Leave the thermometer in place until the reader beeps
Barn temperature
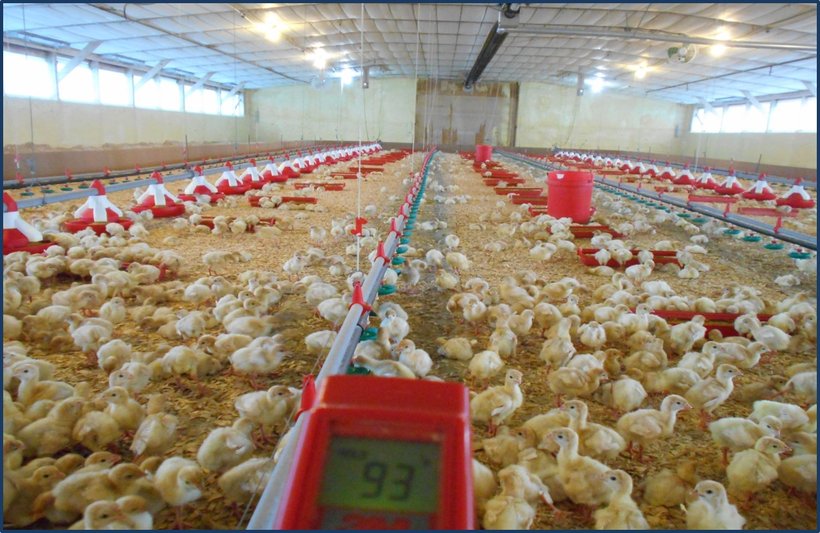
The brooding environment should have an even distribution of floor temperatures ranging from 90⁰-95⁰F (32.2⁰-35⁰C) across the feed and water space. It is important to make sure floor temperatures are in the correct range since cold floors can quickly reduce body temperature, making it more of a challenge for the poults to find feed and water sources.
When it comes time to prepare your brooder house, preheating is one area you don’t want to miss. It is suggested to allow 24-48 hours to preheat the barn, and up to 72 hours during extreme cold. Bedding can act as an insulator, making it difficult for heat to reach below the surface. Make sure that preheating has had time to build heat deep into the bedding. You can measure this by following these steps with a temperature reader
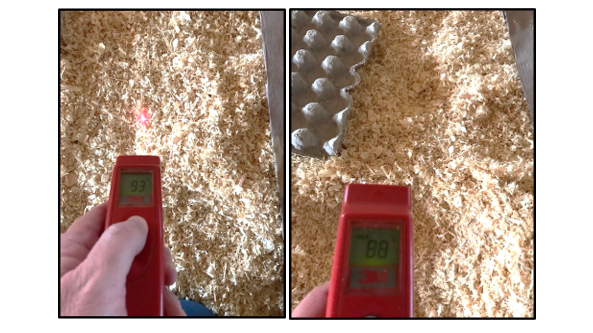
- Measure the temperature of the top of the brooder bedding
- Push away bedding so that you have exposed about 1” (2.5cm) underneath the top level
- Measure the temperature again; if the temperature difference is significant, more time is needed to heat up the floors
Alternatively, stove temperatures that are set too high, have inconsistent heat cycles or do not properly project their heat can create hot spots. This causes the poults to move away from feed and water if they are in an environment that is too hot.
Poult activity
At placement, and up to 12 hours after, be sure to monitor your poults’ behaviour and activity. If you notice poults are backing away from feed and water underneath a heat source, the temperatures are likely too high. If they are huddling together and are not actively eating and drinking, they are probably too cold. Both overheating and cooling can result in large numbers of flip-overs if left unchecked.
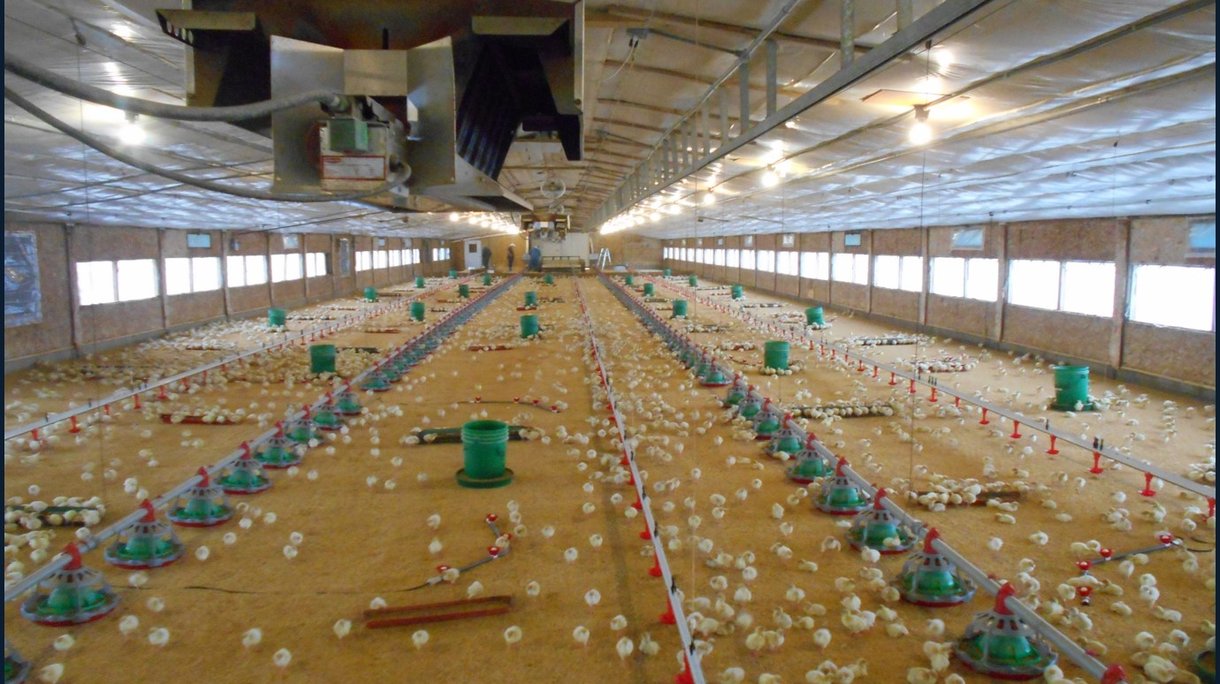
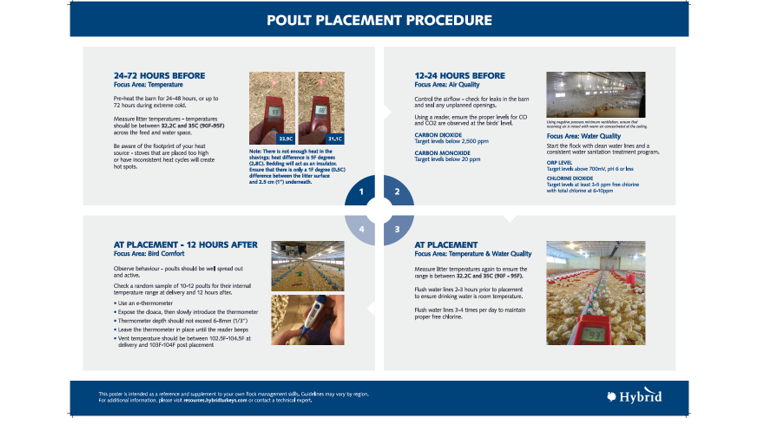
Setting the correct temperature is just one of the focus areas when preparing for poult placement. What are some other reminders when it comes to brooding? The pout placement poster (refer to top right corner of this article) is available as a download to break down each step of the process, with major areas of focus, beginning a full 72 hours before placement.
Just like newborn babies, the poults in our care need careful attention and a clean, comfortable environment. It’s up to us to keep them comfortable in the first few hours and days of placement. Preparing for poult placement can be hard work, requiring careful attention to detail. But with these tips in mind, the long term benefit of strong flock performance will be well worth the effort.

