Published on Sept. 15, 2023
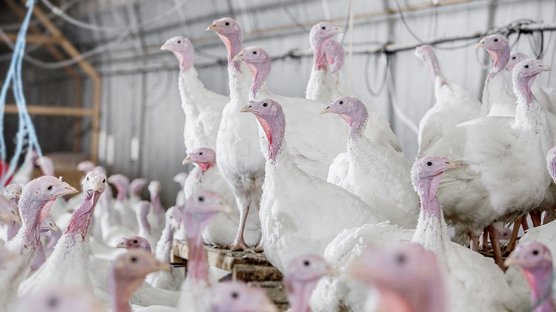
Turkey brooding: How do I give my poults a good start?
Information on brooding continues to be one of the top performing online resources and highly requested topic for customers all over the world. This speaks to the high level of importance when it comes to flock performance.
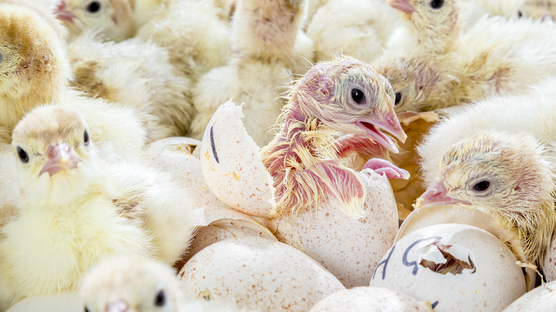
Data shows that when poults are placed in the right environment, with easy access to feed and water, they are more likely to grow to their full potential and have a higher chance of overcoming health challenges down the road. This article will examine a few of the key areas to keep in mind in the first few days of placement to give your poults the best start possible.
Feed and water in brooding
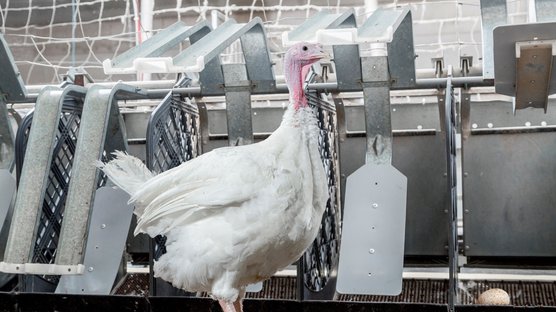
After placement, poults need to start eating and drinking as soon as possible. This is a very important step in establishing good gut health. A healthy gut allows the turkeys to digest and absorb nutrients properly. Below are some general guidelines on number of feeders and drinkers, but supplemental feeders and drinkers are helpful to use so that birds don't have to travel far to access feed and water. The morning after arrival, check the poults' crop to see that 90% of the birds have a full crop.
| Age | Number of birds per bell drinker | Number of birds per nipple drinker | Number of bird per feeder |
|---|---|---|---|
| 0-6 Weeks | 90-110 | 30-40 | 50-70 |
Feed presentation is also another factor in getting poults off to the right start. Correctly presented food can encourage consumption. To make feed access as easy as possible, place paper underneath the feeders and place a light dusting over the paper. We recommend that in brooding, the size of particles should be a medium crumb (2.3-3 mm or 0.1"). Below is an overview of presentation guidelines in each stage of development.
| Age | Description | Size |
|---|---|---|
| 0-3 weeks | Medium crumb | 0.1" (2.3 - 3 mm) |
| 3-5 weeks | Large crumb | 0.1" - 0.15" (3 - 4 mm) |
| 5-6 weeks | Short granule | Diameter 0.15" - 0.25" (4 - 6.4 mm) long |
| 6 weeks | Normal granule | Diameter 0.15" - 0.6" (4 - 15 mm) long |
Watch our how-to video on using feed paper
When it comes to water presentation for your poults, it is important that water is clean and lukewarm. Clean water helps to prevent common health issues such as Bordetella, E.coli, and salmonella. 12 -24 hours before placement, clean your water lines using a sanitizing product. Throughout brooding ensure your water is clean using your preferred water sanitation program.
Click here to learn more about water sanitation programs
Temperature in brooding
Temperature, both in the barn environment and within the poults, is another key area of brooding. Poults are very sensitive to cold and need to be in a warm, comfortable environment. Pre-warming the barn can be very helpful to ensure that enough heat has built up across the litter.
When starting your poults in a whole room set up, the brooding environment should have an even distribution of floor temperatures ranging from 90°F-95°F (32°C-35°C), with an optimal target of 93°F-94°F (34°C-34.5°C) across the feed and water space. After the first week, follow the recommendations below.
Whole room brooding air temperature recommendations
| Whole Room Brood | Forced Air Brood | |
|---|---|---|
| 24hr Pre-Placement | 92-94°F (34-34.5°C) | 95°F (35°C) |
| Placement Day (Day 0) | 92-94°F (34-34.5°C) | 95°F (35°C) |
| Day 1 | 92°F (33.3°C) | 93°F (33.8°C) |
| Day 2 | 91°F (32.7°C) | 92°F (33.3°C) |
| Day 3 | 90°F (32.2°C) | 91°F (32.7°C) |
| Day 4 | 89°F (31.6°C) | 90°F (32.2°C) |
| Day 5 | 88°F (31.1°C) | 89°F (31.6°C) |
| Day 6 | 88°F (31.1°C) | 89°F (31.6°C) |
| Day 7 | 87°F (30.5°C) | 88°F (31.1°C) |
| Week 2 | 84 (29°C) | 85°F (29.4°C) |
| Week 3 | 82 (28°C) | 83°F (28.3°C) |
| Week 4 | 78 (26°C) | 79°F (26.1°C) |
| Week 5 | 74 (23°C) | 74°F (23.8°C) |
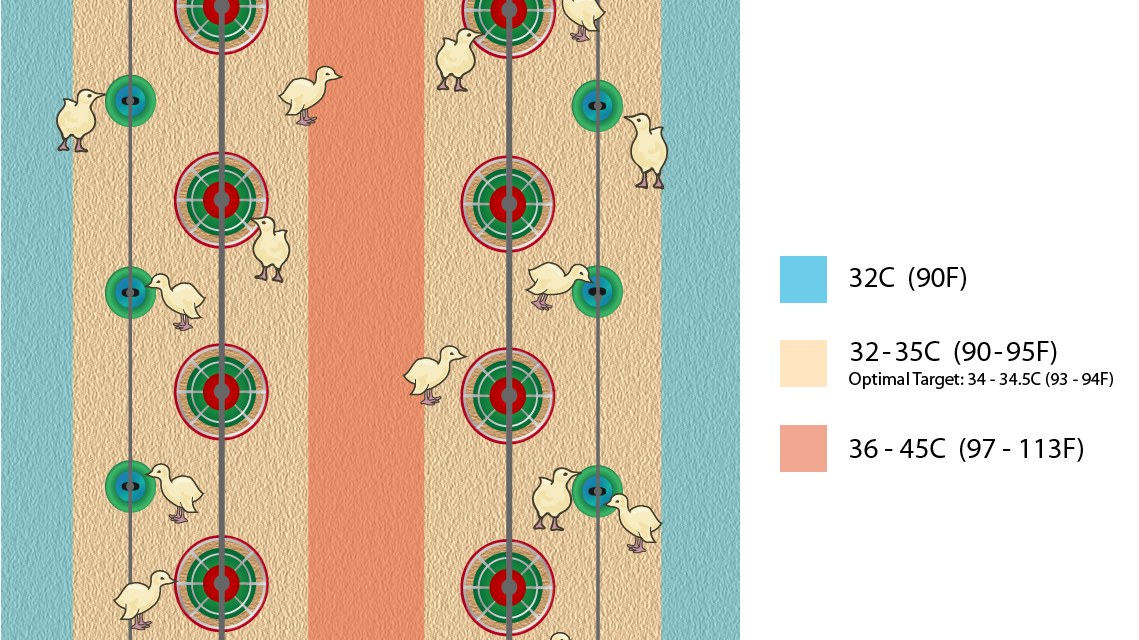
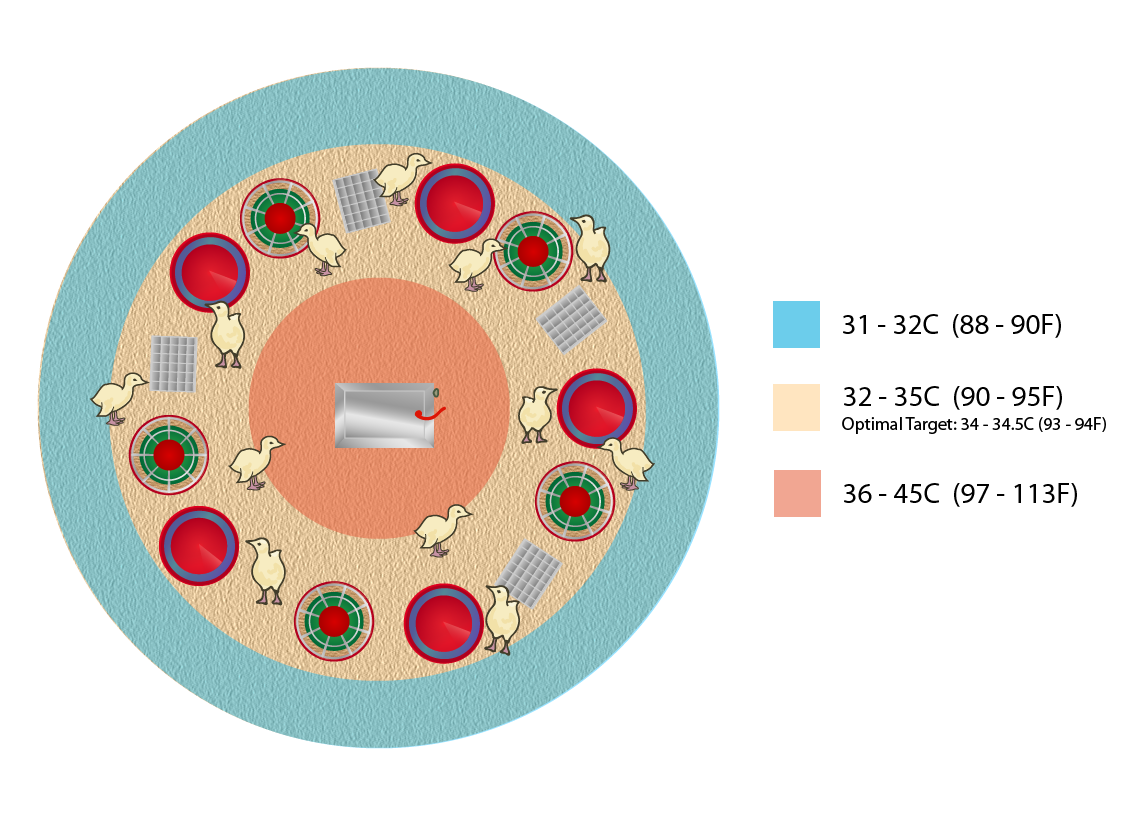
In ring brooding, provide a range of temperatures where the poults can find their point of comfort. There should be no cold drafts and proper air exchange in the barn. Directly underneath the stove, maintain a range of 97°F-113°F (36°C - 45°C), across food and water temperatures should be 90°F - 95°F (32°C - 35°C), optimally 93°F-94°F (34°C-34.5°C) and along the edge of the ring, 88°F-90°F (31°C-32°C). After the first week, follow the recommendations below.
Ring brooding air temperature recommendations
| Age | °F | °C |
|---|---|---|
| Day 1 | 90-95 (93-94 optimally) | 32-35 (34-34.5 optimally) |
| End of week 1 | 86 | 30 |
| Week 2 | 82 | 28 |
| Week 3 | 80 | 27 |
| Week 4 | 78 | 26 |
| Week 5 | 73 | 23 |
Watch our how-to video on floor temperature profiling
Internal Temperature
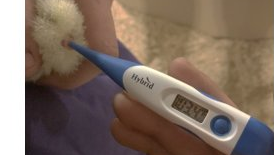
At delivery, and then 12 hours post-placement, a poult’s internal temperature range should be between 103°F (39.5°C) and 104°F (40°C). No higher and no lower. To do this, take a random sample of 10-12 poults and measure internal temperature using a poult thermometer.
- Expose the cloaca, then gently introduce the thermometer
- Thermometer depth should not exceed 1/3” (8.5mm)
- Leave the thermometer in place until the reader beeps
Poult Activity
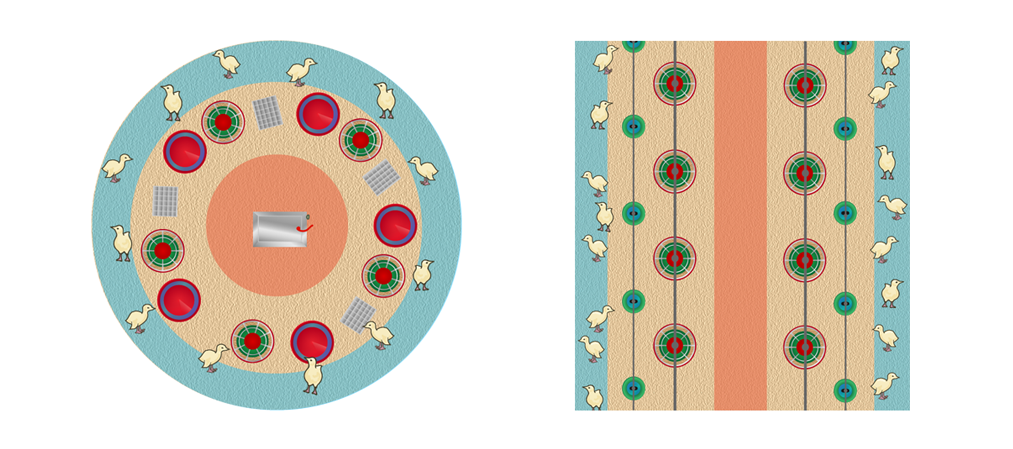
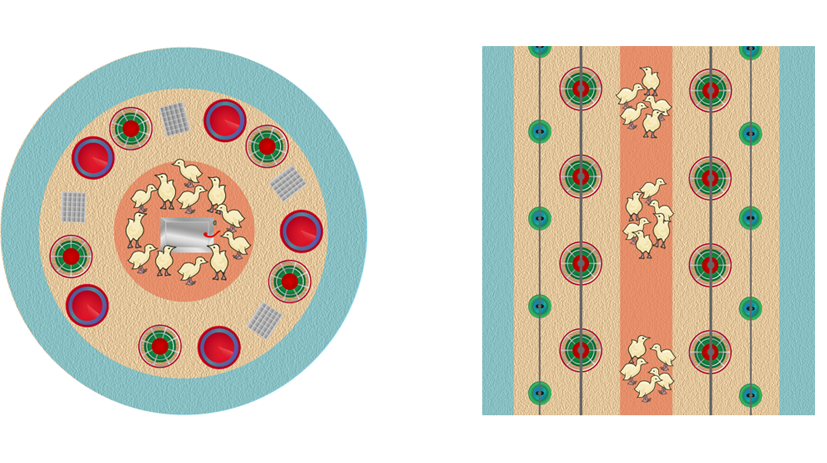
At placement, and up to 12 hours after, look at your poults’ behavior and activity. If you notice poults are backing away from feed and water underneath a heat source, the temperatures are likely too high. If they are huddling together and are not actively eating and drinking, they are probably too cold. Both overheating and cooling can result in large numbers of flip-overs if left unchecked.
Behavior when temperature is too high
Behavior when temperature is too low
If you have questions or would like further support in how to give your poults the best start possible, reach out to one of our Hybrid representatives, or contact us here